Proper mounting your artwork onto a piece of rice paper stiffens your artwork and takes away the creases and wrinkles. This can preserve your masterpieces. They can then be framed under glass like an ordinary picture.
To do the job, we need wheat starch (澄麵粉, 無筋麵粉), rice paper, 2 wide brushes, a board of formica, glass or painted wood, a cutter and a ruler.

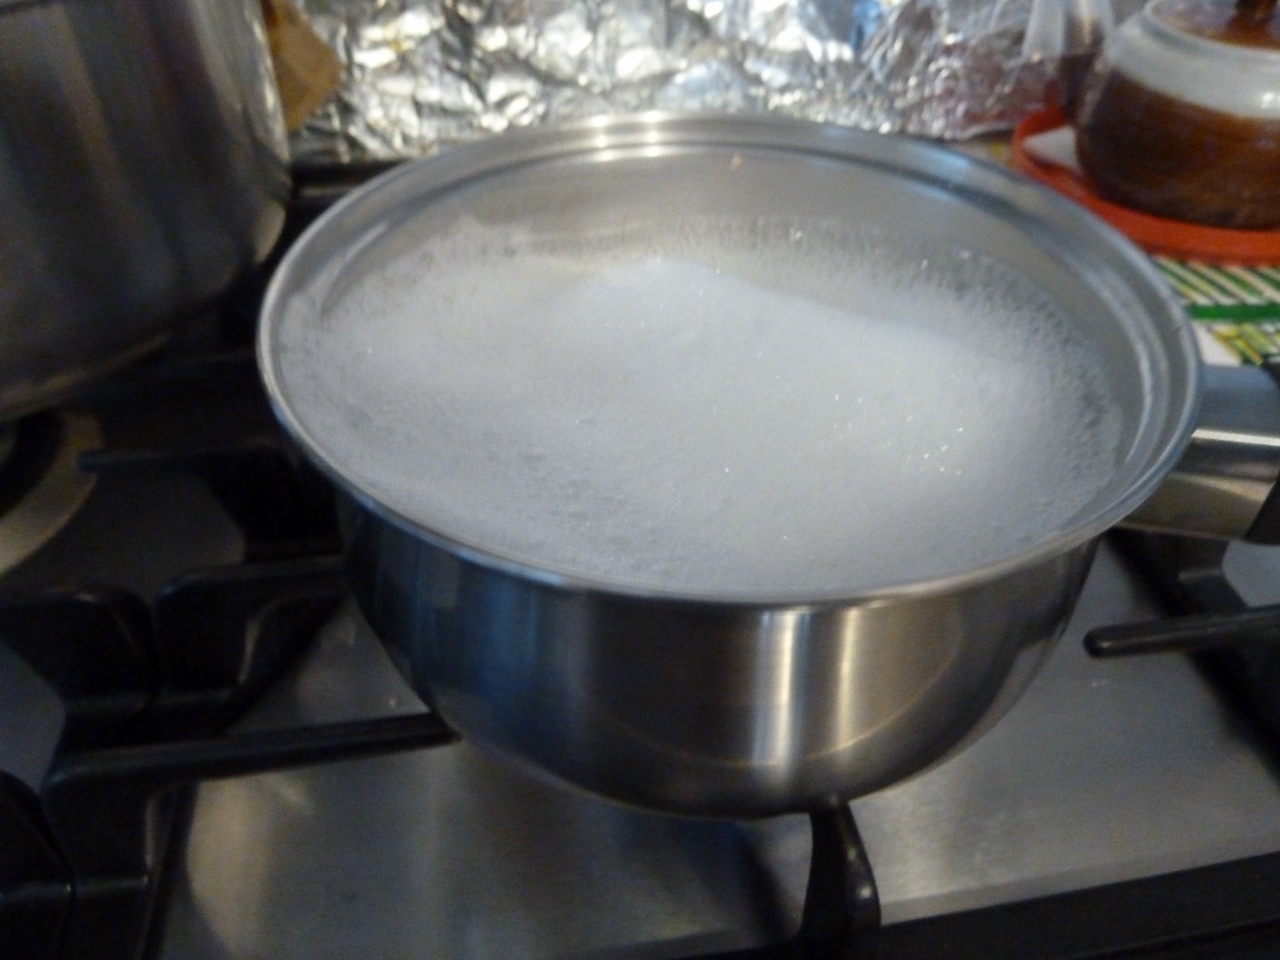
Preparation of the starch paste using a saucepan on a stove
Dissolve 1 table spoonful (about 10 g) of wheat flour in about 200 mL of cold water.

Start heating, stir the mixture until it boils. Then cool the paste to room temperature.
(Some serious artists add some chemicals like oxalic acid to kill moulds and mildews. The paste will be sieved through a muslin bag so that clumps of semi-solid paste will be excluded. Only homogeneous thin paste is used.) Please note that those chemicals are harmful or poisonous. Never put those chemicals into your cooking utensils.


Please make sure it does not boil over, or else a lot of cleaning up required.
Instead of cooking the wheat starch using a saucepan, the wheat starch can be cooked by a microwave oven.
Preparation of the starch paste using an microwave oven
Dissolve 1 tablespoonful of wheat flour in about 50 mL of cold water in a small beaker. Pour the content into a microwave safe plastic container.
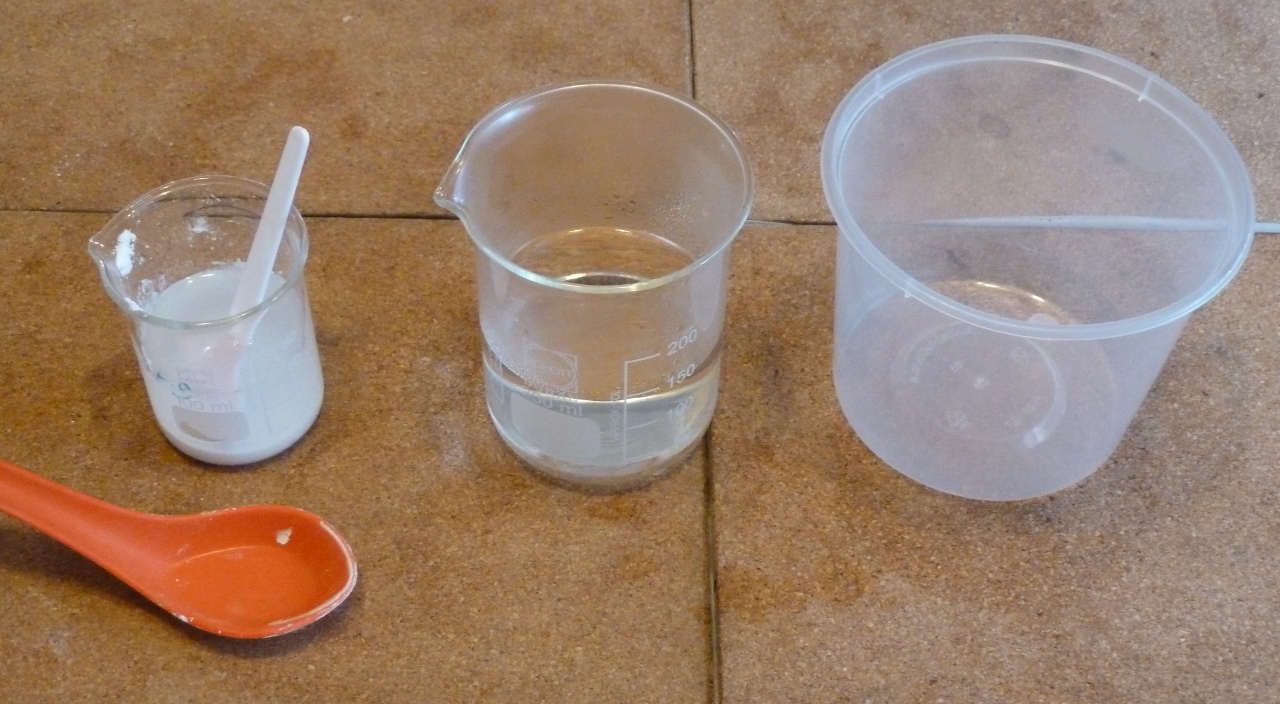
Add about 150 mL of boiling water to the cold starch solution in the container. Stir them well.

Put the plastic container with its content into a microwave oven. Heat the content on high for 1 minute to bring the mixture to boil to form the paste. The duration of boiling depends on the amount of solution. Please make the suitable adjustment.
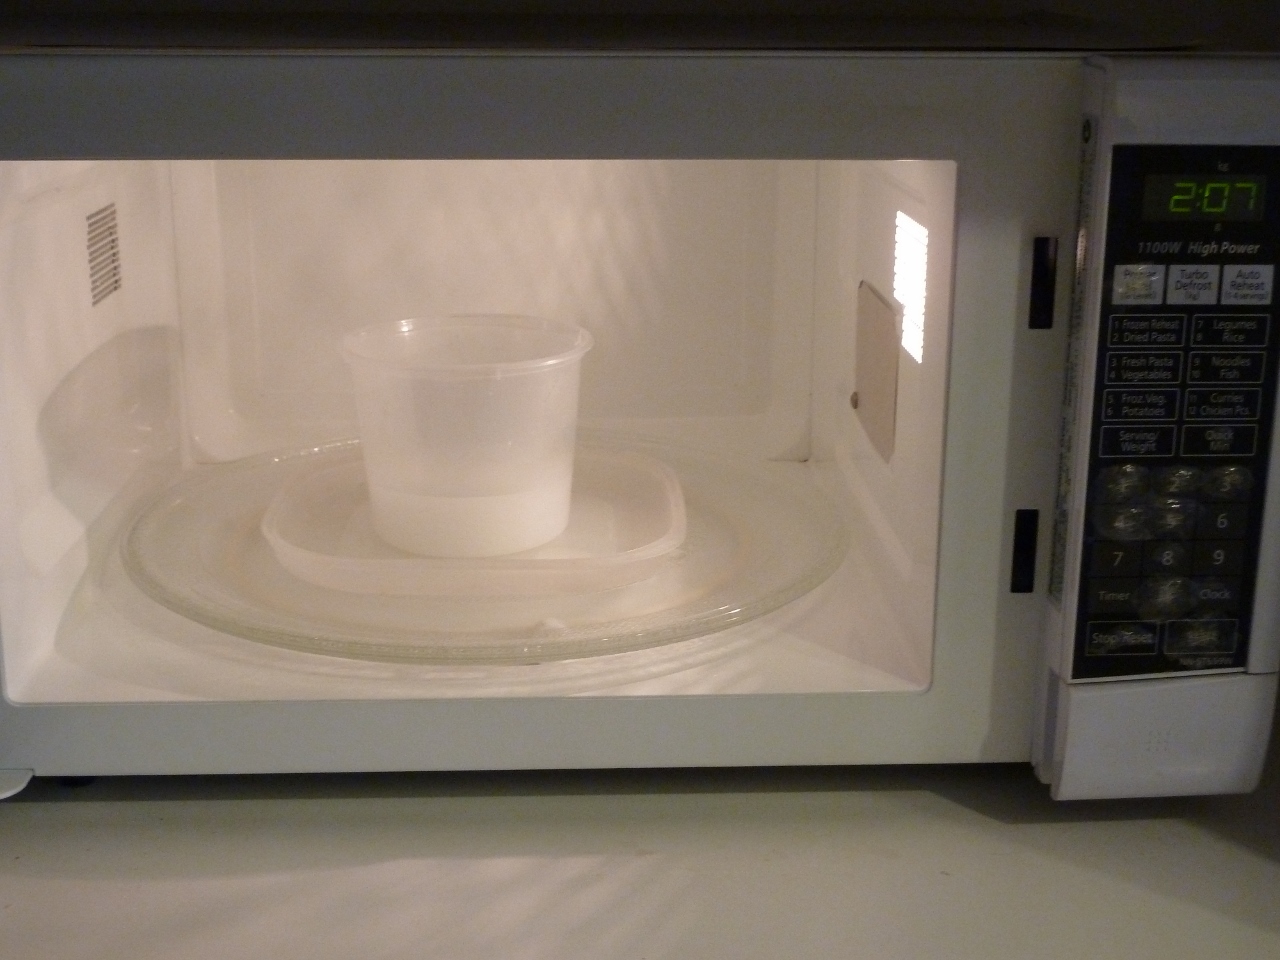
Please be vigilant as the starch mixture may over boil.

A good starch paste is ready for the next step.
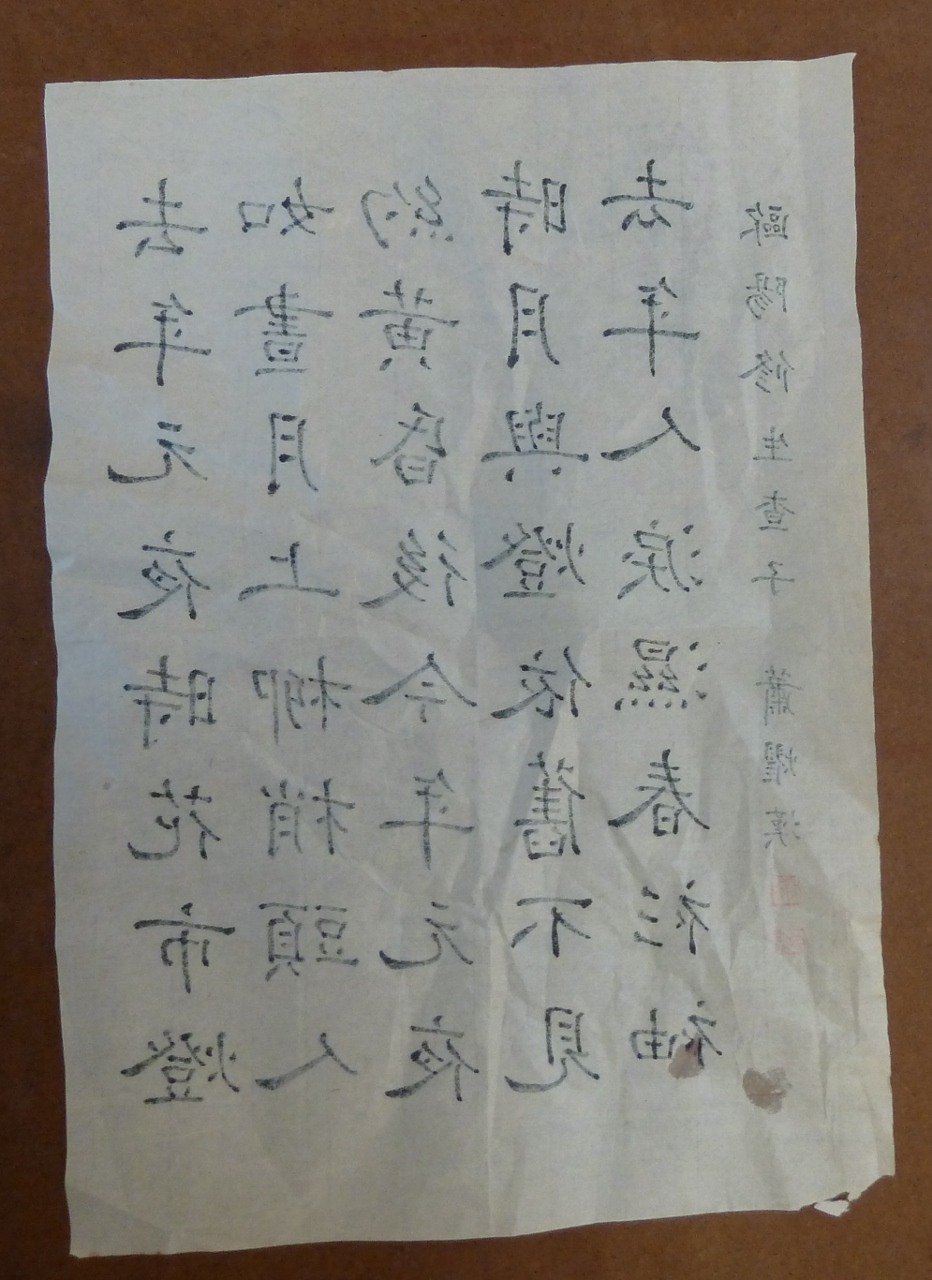
This is a piece of artwork on rice paper to be mounted.

Put the artwork face down onto a piece of board with a smooth surface. If the paper has lots of creases, carefully spray some clean water with an atomiziser (spray bottle) onto the paper and gently with a soft brush, stroke from the centre outwards to remove air bubbles and creases.
With a broad brush, gently apply a thin layer of paste onto the back evenly. Try to squeeze out all air bubbles trapped between the art work and the surface of board with the brush. The brush which has paste is called the wet brush.

Cut a clean sheet of rice paper which is bigger than the artwork by at least 3 to 4 cm on each side. Carefully lower the piece of rice paper onto the back of the artwork. With a dry clean brush, gently sweep onto the rice paper so that it sticks securely onto the artwork.

Make sure the the brushing movements are even and no air bubbles are trapped between the artwork and rice paper.

Apply some paste around the 4 ‘margins’ or edges of the back of the rice paper with the wet brush. Make sure that the area of the rice paper covering the artwork is not contaminated with paste.

Very carefully detach the rice paper with the artwork from the board. Reverse the side so that the surface of the art work is facing upwards. Stick the rice paper onto a clean board with the artwork facing out with the help of a clean, dry brush. The paste applied to the 4 ‘margins’ or edges will adhere the rice paper onto the board. (Instead of drying the rice paper with the artwork on a board, it can be dried on a wall.)

Leave the artwork on the board (or on a wall) to dry for a few days.

After the rice paper with the artwork has been air-dried for a few days, use a cutter to detach it from the board (or from the wall).

With a cutter and a ruler, straighten the 4 edges of the artwork.

The artwork mounted onto rice paper can be put into a frame.

Disclaimer: Mounting artwork onto rice paper needs a lot of skill and practice. Please practise until you feel confident before you mount your masterpieces onto rice paper. Patrick takes no responsibility if your artwork is spoiled during the process.
Acknowledgements:
Patrick would like to express his gratitude to Mr IP Chit Hoo (his painting teacher) and Mr Andrew Lo (President of The Australian Chinese Painting Society Inc.) for teaching him how to mount artworks onto rice paper.
